


Jason Nolin was an illustrator at Fat Pencil Studio from 2010-2013.
Fat Pencil Studio is on a continuous quest to offer the best options for sharing complicated concepts; to explain them simply without losing their essence. We usually do this with images, diagrams, or interactive presentations. But sometimes it’s better to just hold something in your hand—to see the concept in actual real life, to feel it.
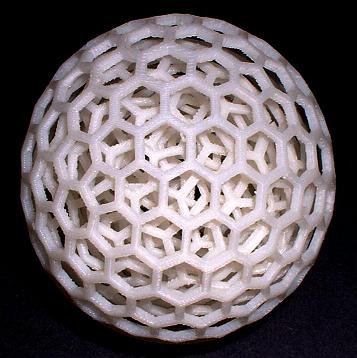
Enter 3d printing: arguably one of the coolest technologies coming of age (have you heard about NASA’s 3D food printer?! ). First developed in the ’80s, the process is finally becoming accessible and affordable to the general public. It works much like a standard inkjet printer (but a little messier!): you queue up a file (in the 3d STL format instead of 2d postscript) and the object is printed one layer at a time using a powdered base material (ceramic, plastic, or metal) plus a binder. Because it’s an additive process, crazy nested objects can be built that are not possible with standard subtractive machining. Think of a wiffle ball within a larger whiffle ball within an even larger whiffle ball—whoa! Here are some more exciting examples.
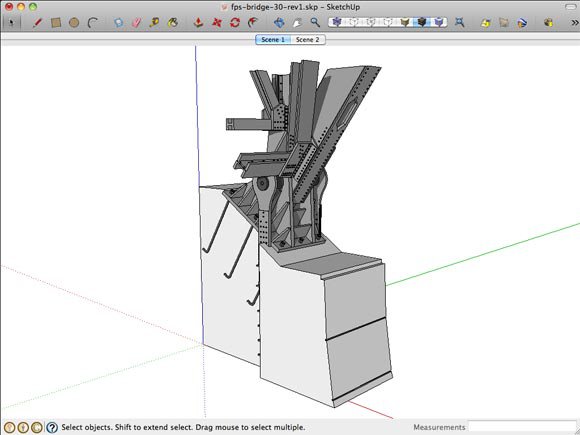
3d printing allows us to create a physical object to explain concepts that are either too big, too small, too one-of-a-kind, or just too unwieldy for 2d graphics. For example, we wanted to explain the details of the Yaquina Bay Bridge footing: the place where the steel structure interfaces with the concrete pier. This is a massive and heavy structure with a really interesting design that is simple to understand when you see it, but not so easy to describe otherwise. Here’s the digital version, modeled at a scale of 1:30 (which makes the overall dimensions about 3”x5.3”x7.3” high):
There are quite a few 3D printers available now, some even affordable for consumers. However, the higher quality printers that can print decent size objects with good resolution and color capability are still pretty expensive. There’s also a steep learning curve to operate these machines. To get good results, it makes sense to outsource to a specialist.
There are a lot of companies that offer mail-order 3d printing. Here are four that we considered:
imaterialize.com (based in Belgium, quote to print our model: $196)
sculpteo.com (San Francisco & France, $329)
shapeways.com (New York & the Netherlands, $224)
ponoko.com (Oakland, New Zealand, Germany, UK, Italy, $261)
Some of these have really amazing web interfaces that will upload a model (in a variety of 3d file formats), and provide a 3d preview to confirm everything translated correctly. Impressive. These companies are far away, though. They can have long turnaround times, expensive shipping and handling, even import duties. Given all this uncertainty, we were interested in working with a local company. And, lucky for us, Rapidmade is just across the river.
Rapidmade specializes in 3D print prototyping. They’re able to take a digital model and produce a physical model in just a few days (or perhaps even less if there’s a rush). Working with them was really helpful; they were able to review our model and suggest ways of improving it for the physical print. They reviewed the colors to be sure they came through correctly. Their quality control meant that we got the model we were expecting without worry. And, because their focus is prototyping, they deal with each project confidentially, something that isn’t clear with the web-based options. These were great benefits, and at $360, their price was just a few dollars more than the other quotes.
After some patient back and forth between David and Kristofer at Rapidmade, we now have this model! It’s a beauty to hold and behold: no computer—or red and blue glasses—required.